Trinity Pro Activation Procedure and First Time Updates
Intro:
Hello and welcome to Measur's knowledge base! In this article, we will go over how to get set up with a Quantum Systems account and activate your new Trinity Pro!
Step 1: Create a Quantum Systems Portal Account
- Firstly, please set up a QS account by going to the Quantum Systems Customer Portal Page.
- Please enter the best email address. You will be sent a verification code to your email which you will need to enter before you can enter a password and fill out the rest of the form.
Step 2: Create a Company
Next you will need to create a company. This is where you can add pilots / team members as well as the equipment itself. Enter in all relevant information.
Step 3: Add Trinity Pro to your equipment
Now that you have a company set up to add your equipment to, it is time to add the Trinity Pro to your account.
- Select "Add New Drone"
- Insert the license key which can be found on a white activation card in the Trinity Pro case. The Trinity Pro will then show up under your "company drones." If you have not already, please download Qbase from the portal, or you can download it here.
Step 4: Link Trinity to your account on Qbase
- Open Qbase
- Enter "Settings Tab"
- Select "account" and sign in to your Quantum Systems account
- Connect the antenna to the modem and connect to your computer. Wait for the modem to initialize. It will say "No Data" when ready.
- Without fully assembling the Trinity Pro, connect the battery to the drone and wait for it to connect to your computer. Use the dropdown to confirm that the status is set to "Activated."
Step 5: Update Trinity Pro
At this time the latest QOS version for the Trinity Pro is 25.1.1.8. It is crucial that your drone and payload bays are always up to date. In the event that an incident occurs and your equipment is not running the latest available firmware, Quantum Systems reserves the right to deny any warranty considerations. Whenever a new firmware is released, a notification can be found under the "News" tab. 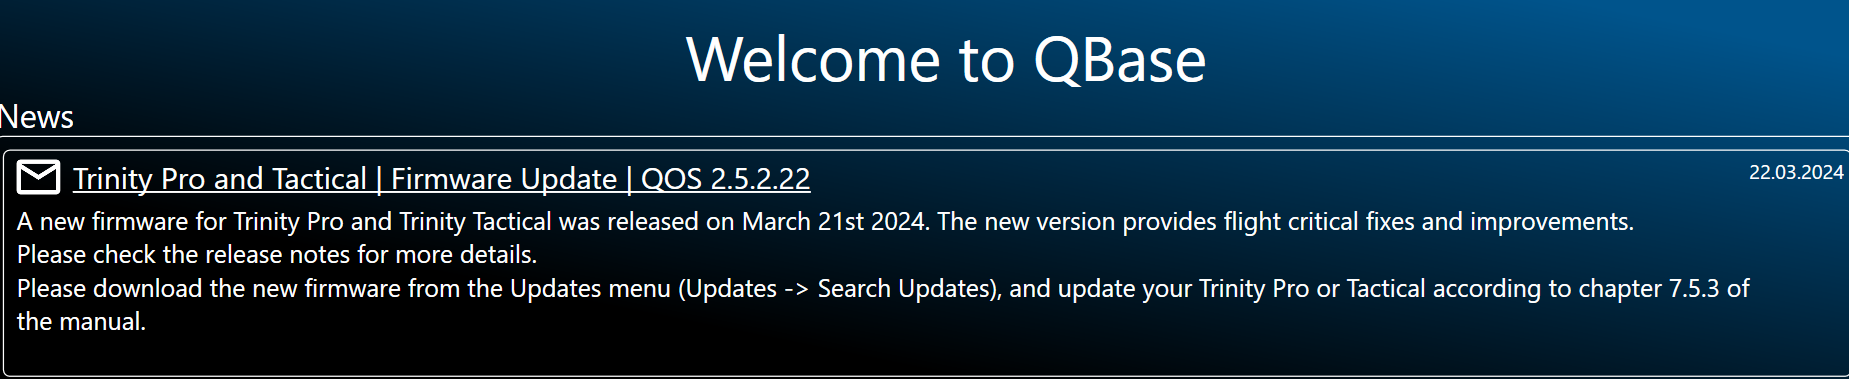
- In Qbase, go to the "updates" tab - If you do not have the latest QOS version downloaded, it will automatically start downloading. Wait for it to complete.
- Connect the provided USB-C cord to the port ontop of the Trinity Pro
- Insert battery.
- Select "Install unlimited flight time license" as this will open the WebUI of the Trinity Pro. You can also enter http://10.41.1.1/ which will take you to the same page.
- Select the "System Update" tab if you are not on it already.
- Select "Browse" and pick the most recent QOS version. If it does not bring you directly to where the QOS firmware update files are saved, you can follow this folder directory to find them.
- Let the drone perform its update - you will see "success" as the status when it is done. This can take a few minutes. Do not disconnect USB-C or battery or power off your computer during the update.
- Disconnect the battery, then the USB-C cord. Then reconnect to Qbase using the modem only and confirm under the drop down (where we checked the activation status) that the firmware has been updated.
Step 9: Update Payload bay (PMB)
Lastly, we need to make sure our payload ready bay has the latest firmware as well. Note: The PMB is updated at the same time if they payload bay is installed on the drone during the QOS update in Step 8. Only follow this if you need to update the PMB separately.
- Remove the payload from the Trinity Pro
- Go to the "Updates" tab in Qbase
- Select "Flash new UAV and PMB firmwares"
- Select "Trinity PMB" as the device type and select the latest firmware available (V2.5.2.41 at the time of publishing this article)
- Select "Detect Devices" and then plug in the USB-C to the port on the payload bay and wait for the device to auto update. It will reboot when done and a file explorer window will open.
Conclusion:
You are now activated, updated and ready to fly! We highly recommend familiarizing yourself with the drone by going through the owners manual. Other useful things to do before your first flight:
- Download an offline map of the area you are flying (see owners manual page 41)
- Download the Elevation data for the area you are flying (see owners manual page 42)
Should you have any questions or concerns with your new system, do not hesitate to reach out to us via email at support@measur.ca
Related Articles
Trinity F90: Update the Payload Management Board (PMB)
Start QBase. Select Updates and select Search Updates. Select Update and confirm with Yes. Please follow the steps as described in QBase. Thereby, please pay special attention to FIRST select Detect Device and AFTERWARDS to connect the payplad ...QBase License Update
1. Find out your autopilots serial number 2. Request license via email from Quantum-Systems Provide: • Aircraft type • Aircraft serial number • Autopilot serial number 3. Go to license flashing dialog in Updates menu 4. Follow ...Trinity F90: Update the ESC
The update is shown in QBase > Updates > Search Updates. Please follow the instructions of the ESC update. Please select the downloaded ESC firmware (.hex.bin file ) in the User > Documents > QBase > Firmware > ESC folder.DJI Mavic 3 Enterprise First-time Survey Setup Guide
1. Preparation 1. Hardware Mavic 3 Enterprise (M3E) with Battery Charged RC Pro Enterprise (Model: RM510B) Remote Controller (RC) D-RTK 2 Mobile Station (DRTK2) (Not required if using NTRIP Network RTK, PPK or GPS only) Micro SD card (to be inserted ...Get Started With PPK On Trinity F90
Getting Started The Trinity F90+ PPK module (standard on all Trinity F90+ drones) enables high-precision mapping without the need for ground control maps. You can achieve centimetre-level precision through the relative comparison of Trinity F90+ raw ...